
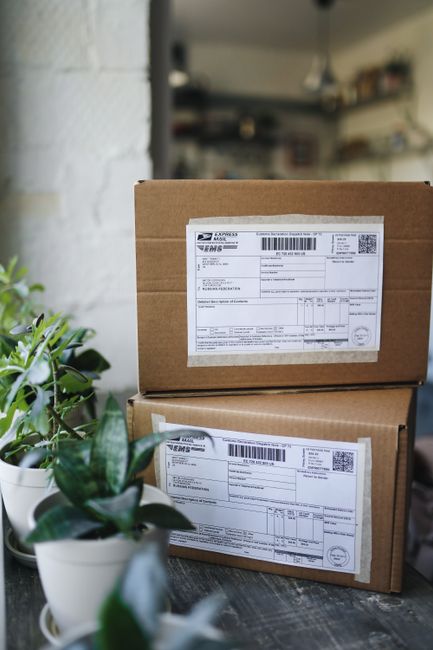
Many store owners focus heavily on how a store looks. They choose fonts and colors carefully. They refine product photography until it is perfect. Yet one back-end setting often gets overlooked until launch day. Shipping rules fall into this category. The way you configure them directly affects your profit margin. It also influences whether a customer completes a purchase at checkout.
Getting this right requires understanding how Shopify handles zones and rates. You do not need to know how to write code. You do need to understand the relationship between weight, distance, and cost. This guide breaks down the process step by step. We will look at locations, zones, pricing strategies, and profiles. By the end, you should be able to configure a system that protects your business and supports growth.
Why Shipping Setup Impacts Revenue
Shipping is often viewed as an operational detail. Many assume the carrier will handle the math automatically. That is not entirely true. Shopify needs clear instructions to generate accurate prices for every order. If you leave settings to default values, you risk charging too little or too much.
Charging too little means you pay the difference out of pocket. This erodes the profit you made on the product itself. Charging too much creates friction at the final stage of buying. Customers may abandon their cart when shipping costs appear unexpectedly. This is one of the most common reasons for checkout abandonment.
Your shipping setup also signals professionalism to shoppers. Clear rates build confidence. Hidden fees create suspicion. Buyers want to know the final cost early in their journey. Configuring your settings correctly removes uncertainty and supports higher conversion rates throughout the sales funnel.
Defining Your Store Locations
Setting the Origin Address
The origin address tells Shopify and your carriers where packages depart. This location is used to calculate shipping costs. It also appears in return policies and contact details. Accuracy here is essential for every rate estimate you generate.
Imagine a business owner who ships from a home garage. If they list a commercial warehouse address, the carrier rates may differ. Insurance and pickup availability change based on the zone. Match the address to the physical reality of where inventory sits. This prevents surprises when you move locations later.
Managing Multiple Locations
You can add more than one location to your store. This is useful if you have inventory spread across different areas. You might keep stock in a home office and a rented unit. Some businesses grow to use several warehouses for faster delivery.
Adding locations requires care. You must tell Shopify which location fulfills each order. This affects how shipping rates are calculated. You can prioritize the nearest location to the customer. This reduces transit time and cost.
- Inventory is spread across separate warehouses.
- Different locations offer different shipping rates.
- You need to select the source at checkout.
Understanding Shipping Zones
Starting With Domestic Coverage
A shipping zone is a group of countries or regions. Shopify groups these to simplify rate management. Most new stores begin with a single domestic zone. This covers the country where your business is registered.
Do not create a separate zone for every state or province. That creates unnecessary work. A broad domestic zone usually serves most needs. You can always narrow it later if specific areas require special handling. Simplicity reduces the chance of errors.
Handling International Customers
Selling internationally opens up new markets. It also introduces duties and taxes. You must decide how to handle these at checkout. Some platforms allow you to collect taxes upfront. This makes the experience smoother for the buyer.
Some products face restrictions in certain regions. Alcohol or cosmetics may need special licenses. Verify legal requirements before enabling a zone. Selling illegally can result in fines or account suspension.
- Check if the destination allows your product type.
- Understand import duties and who pays them.
- Ensure your carrier supports the region.
Pricing Your Shipments
Flat Rates Versus Calculated Rates
You have two main options for charging customers. Flat rates charge a fixed fee regardless of destination. This is simple to manage and easy for customers to understand. Calculated rates pull live prices from your carrier account. They adjust based on weight and package size. This is more precise but requires accurate product data.
Which option fits your store depends on your inventory. Consider a candle maker who sells light jars. A flat rate works well here because the weight is consistent. Now consider a furniture retailer moving heavy items. Calculated rates are better for these because costs vary wildly.
- Flat rates work well for small uniform items.
- Calculated rates are better for heavy variable items.
- Flat rates reduce checkout friction and questions.
Many stores qualify for discounted carrier rates through Shopify Shipping. You can connect your account to access these prices. This often lowers costs compared to a standard retail account. Ensure you verify the discount before switching strategies.
Setting Free Shipping Thresholds
Offering free shipping can be a powerful marketing tool. Customers often chase a threshold to qualify. This can increase the average order value significantly. However, you must build the cost into the product price. Do not absorb the fee unless your margins allow it.
Start by calculating your average shipping cost. Set the threshold slightly above your current average order value. Monitor the metric for a month. If sales volume does not grow, adjust the price or the threshold.
- Calculate your average shipping cost per order.
- Set the threshold just above your current average.
- Monitor order value changes before and after launch.
Shipping Profiles and Packaging
Managing Product Specific Shipping
General rates apply to most items in your store. But some products need special handling. Shipping profiles let you group products with unique rules. This keeps your main rates simple while accommodating exceptions.
Consider a store that sells both books and furniture. Books are light and can ship via standard post. Furniture is heavy and may require a freight carrier. You would create a profile for the furniture items. This ensures accurate quotes for those heavy orders.
Inputting Accurate Dimensions
Calculated rates require package dimensions. Guessing here causes errors later. A package that is too small will fail at the carrier. A package that is too large charges you extra.
Measure your boxes including padding. Use the actual box size, not the product size. Include bubble wrap or paper in your measurements. A slightly larger estimate is safer than a smaller one.
- Measure your actual packing materials, not just the product.
- Update dimensions when you switch box suppliers.
- Review these settings for every new product listing.
Fulfillment Settings and Delivery Dates
Choosing Fulfillment Methods
You can mark items as physical or digital. This changes how checkout behaves. Digital items do not require shipping. Physical items require a destination and a method.
Consider third-party fulfillment as inventory grows. Shopify integrates with many partners. These services store and ship items for you. This frees up time for marketing and product development.
Shipping insurance protects your investment. It covers lost or damaged packages. This is especially useful for high value items. Consider adding this cost to your profile settings.
Communicating Delivery Expectations
Customers need to know when items arrive. Use shipping profiles to set handling time. This is the number of business days before the item ships.
A clear promise reduces anxiety. It also reduces requests to cancel or refund. If you are short on stock, communicate this early. Transparency builds long term trust with your customer base.
- Set realistic handling times for your team.
- Update expectations if inventory is low.
- Show delivery estimates on the product page.
Common Configuration Errors
Even experienced owners make mistakes when configuring these settings. Reviewing common pitfalls can save you money.
- Not testing rates before going live.
- Forgetting to enable carrier services.
- Ignoring shipping zones during checkout.
- Not updating rates after moving to a new location.
- Leaving default settings for sensitive products.
Testing an order is the simplest way to verify accuracy. Place a real order with a refund request. Check that the rates match your expectations. This small step prevents larger problems later.
Conclusion
Shipping is a balance between cost and delivery times. Start simple. Flat rates work well for new stores. As volume grows, move to calculated rates for precision. Regular audits keep things accurate.
Treat shipping settings as a living part of your store. Revisit them whenever you change packaging or move inventory. A solid shipping foundation supports growth. It protects your margins and keeps customers happy. You are now ready to configure your store with confidence.